Cricut: How to Make Coordinating Iron-On Vinyl Clothing

Cricut: How to Make Coordinating Iron-On Vinyl Clothing

Level
Time
Budget

Personalize outfits for all the family and transform your little one into a bear cub with this Cricut iron-on vinyl project! It's the perfect way to welcome a new baby to the family with coordinating t-shirts for all the family!

This project can be made with the Cricut Maker or Explore and can be created using any iron-on vinyl you wish.

Please Note
This project contains paid for content from Cricut's Design Space app. Screen reference images are taken from the iPad version of Design Space.
Save for Later
You Will Need How To Make

You Will Need

Cricut Maker® 4
Cricut Maker® 4
Available for home delivery
Cricut EasyPress® 3 (9x9) - 220V
Available for home delivery
$250.00
Everyday Iron-On-Black
Available for home delivery
Craft Express Thermal Mat (34.5x29.5cm)
Available for home delivery
$16.25
Cricut LightGrip Machine Mat, 12" x 12" (1 ct)
Available for home delivery
Cricut Basic Tool Set
Available for home delivery
$30.00

How To Make

You Will Need
* Cricut Machine
* Cricut LightGrip Cutting Mat
* Cricut Basic Tools
* Cricut Heat-Resistant Mat
* Heat Press
* Black Everyday Iron-On Vinyl
* Pre-washed T-shirt/s
* Pre-washed Baby Grow
* Cricut Design Space app installed on a laptop, PC, tablet, or mobile device

Step 1

Open the Cricut Design Space app. Start a new project and, using the image library, search for "Mama Bear" and select one of the images.

Do the same for the baby bear design. Insert the selected designs onto the canvas.

Top Tip—Alternative wording can be found in the Cartridge—Miss Kate Cuttables—Home Sweet Home.


Step 2

While the Mama Bear image already has the mama cut out of the bear, you need to manually perform this step for the baby bear image.

Select the Baby Bear image, and using the "Action" menu, press "Slice."

You can then remove and delete the two unwanted Baby Bear words produced.

Step 3

Select each image and resize using the "Edit" menu. You may need to measure your baby's growth and adjust for a perfect fit. We have resized the Baby Bear image to 7” wide and the Mama Bear to 11.5” wide.

Step 4

Click the "Make it" button in the bottom right-hand corner of the app; this will send you to the mat preview screen.

Here you need to mirror the images. To do this, select the "Mirror" button on the left of the screen—this will prepare the design, ready for cutting onto iron-on vinyl.

Step 5

Press "Continue" and follow the on-screen instructions to select the material and cut out your design.

We have used Cricut Everyday Iron-on. Ensure you place the vinyl shiny side down onto your cutting mat.

Step 6

Trim around the vinyl bare cuts to separate.

Weed the excess vinyl from around the bears, as well as remove the vinyl inside the bears so that the words 'Mama' and 'Baby' appear.

Step 7

Preheat the EasyPress 2 using the Cricut EasyPress guide as a reference—https://cricut.com/en_us/https://cricut.com/en_us/heatguide

Place your designs onto your selected t-shirt and baby grow and press, following the heat guide fully for correct temperatures and processes.

Step 8

Once the timer reaches zero, place the EasyPress back into its heat-resistant cradle and leave the baby grow and vinyl to cool. Once the vinyl liner is warm to the touch, carefully remove it, leaving the bear design on the T-shirt/baby grow.


Projects For You

Discover more creative ideas

Cricut: 5 Ways to Make Paper Flowers
Cricut: How to Make Decorative Boxes for Ramadan
Cricut: How to Make Storage Jar Labels
Cricut: How to Make Paper and Vinyl Wall Art
Cricut: How to Make Cute Pots with Vinyl Scraps
Cricut: 6 Ways to Make Stickers
Cricut: How to Make a Congratulations Card
Cricut: How to Make a Baby Milestone Banner
Cricut: How to Make a Personalised Letter Mug
Cricut: How to Make a Paper Flower Spring Wreath
Cricut: How to Personalise a Tote Bag with Iron-On
Craft with us at our workshops

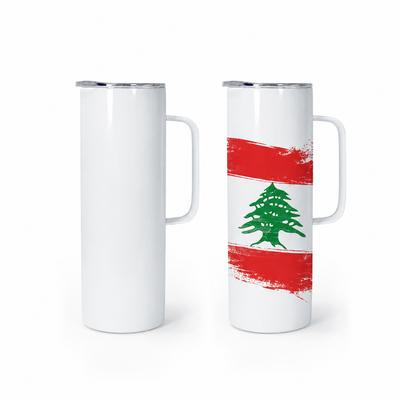
Sublimation Tumbler and Mug Class
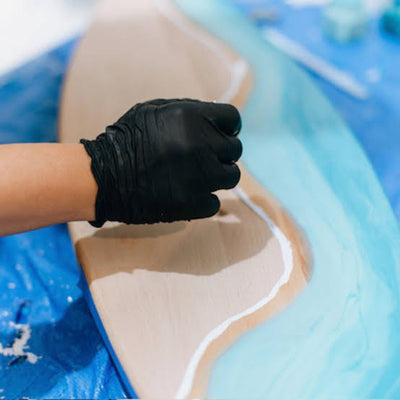
Resin Art Class: Ocean Waves
Cricut Print Then Cut Workshop: Make Stickers and Cake Toppers
One-to-one Silhouette Cameo Workshop
Beginner's Guide to Silhouette Studio®
Pipe Cleaner Flower Workshop