Cricut: How to Make Storage Jar Labels

Cricut: How to Make Storage Jar Labels

Level
Time
Budget

Transform your kitchen with adhesive jar labels that will help you organize your storage for cooking and baking convenience! We've used clip-top jars to show you how to make these labels, but you can add them to any jar or box with a smooth surface.

With your Cricut machine on hand, you'll be able to use fonts to suit your style, with greater personalization possibilities than a standard label maker. We've used the Cricut Maker for this project; however, it can also be created using the Cricut Joy and Explore machines.

Please Note
This project contains paid-for content from Cricut's Design Space app. Screen reference images are taken from the iOS version of Design Space.
Save for Later
You Will Need How To Make

You Will Need

Cricut Transfer Tape
Available for home delivery
$11.00
Cricut Maker® 4
Cricut Maker® 4
Available for home delivery
001E Series Craft Vinyl (Matte)-Black
Available for home delivery
$2.50

How To Make

You Will Need
* Cricut Machine
* Cricut LightGrip Cutting Mat
* Cricut Basic Tool Set
* Cricut Black Permanent Adhesive Vinyl
* Transfer Tape
* Selection of Jars

Step 1

Open up a new project canvas in the Design Space app, then click on the text icon and search for 'Dear John' font.

Step 2

Write out your labels in the text box that appears on-screen. We typed the words "Tea," "Coffee," "Hot Chocolate," "Biscuits," and "Sugar," pressing the return/enter key after each word so that they're each on separate lines.

Step 3

Click the "Edit" icon and adjust the font size to 42 and change the font style to bold. Align the text centrally.


Once happy with the design of the labels, click the green "Make It" button.

Step 4

You'll then be taken through to the mat preview screen. Check everything looks good on the mat preview before clicking "Continue."

Step 5

Trim a piece of vinyl six inches square and place it on to the top left-hand corner of your cutting mat.

Please note: If you've made your labels larger or smaller, make sure to adjust the amount of vinyl cut accordingly.

Top tip: I've used removable vinyl for my labels, which means the vinyl can be removed (for up to three years) if I want to replace it with a new label. If you're creating labels that are there to stay, you can use permanent vinyl instead.

Step 6

After the mat preview screen you'll then go through to the machine settings screen and choose Cricut Premium Vinyl from the "All Materials" menu. Top tip: If you're using the Explore Air 2, you can either turn the Smart Dial to vinyl or use the custom setting and select Cricut Premium Vinyl as above.

Step 7

Follow the on-screen instructions to load the mat into your machine, then press the Cricut button when it starts to flash to start the cut.

Once the cut is complete, remove the mat by pressing the arrow button again. Flip the mat over to peel it away from the vinyl.

Step 8

Using a weeding tool, carefully remove parts of the vinyl that you do not want to transfer onto your jar. This process is called weeding.

Step 9

Place a piece of transfer tape, cut slightly larger than your biggest label over the image and use the scraper tool to help the tape adhere to your label text.

Slowly peel the backing paper away.

Top tip: It often helps to use a piece of clothing to place the tape onto initially, so you can remove some of the stickiness before use.

Step 10

Carefully place the label text centrally on each of your jars, using the scraper tool to adhere the vinyl to each one. Slowly peel the transfer tape away to leave the text on the jar.

Top tip: If you fill the jar up to the level where you want to place your vinyl, it will give you a straight line to follow

Step 11

Repeat the same process of applying the labels to the remaining jars, then they're ready to be filled!


Projects For You

Discover more creative ideas

Cricut: 5 Ways to Make Paper Flowers
Cricut: How to Make Decorative Boxes for Ramadan
Cricut: How to Make Coordinating Iron-On Vinyl Clothing
Cricut: How to Make Paper and Vinyl Wall Art
Cricut: How to Make Cute Pots with Vinyl Scraps
Cricut: 6 Ways to Make Stickers
Cricut: How to Make a Congratulations Card
Cricut: How to Make a Baby Milestone Banner
Cricut: How to Make a Personalised Letter Mug
Cricut: How to Make a Paper Flower Spring Wreath
Cricut: How to Personalise a Tote Bag with Iron-On
Craft with us at our workshops

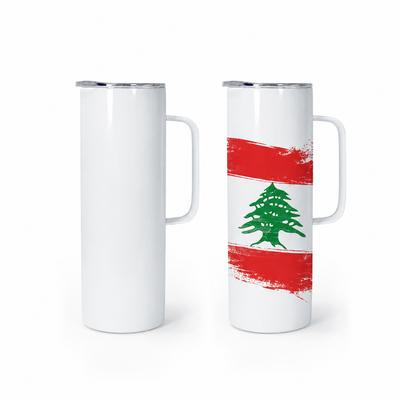
Sublimation Tumbler and Mug Class
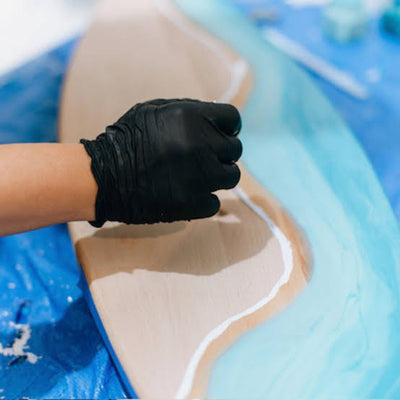
Resin Art Class: Ocean Waves
Cricut Print Then Cut Workshop: Make Stickers and Cake Toppers
One-to-one Silhouette Cameo Workshop
Beginner's Guide to Silhouette Studio®
Pipe Cleaner Flower Workshop